TETRA Equipment and Terminals for PMR Networks

Public Safety, Utility and Transport organisations over many years have deployed Private Mobile Radio (PMR) infrastructure equipment with high availability and reliability to provide to provide dedicated, secure communications networks.

Modern implementations of PMR utilise the digital TETRA standard, which provides interoperability between systems and terminals from a range of manufacturers.

@YellowsBestLtd our mission is  “Keeping Customers Operational, by continuing to provided spares solutions, hardware repairs and support services to ensure continued long-term operations and maintenance.  

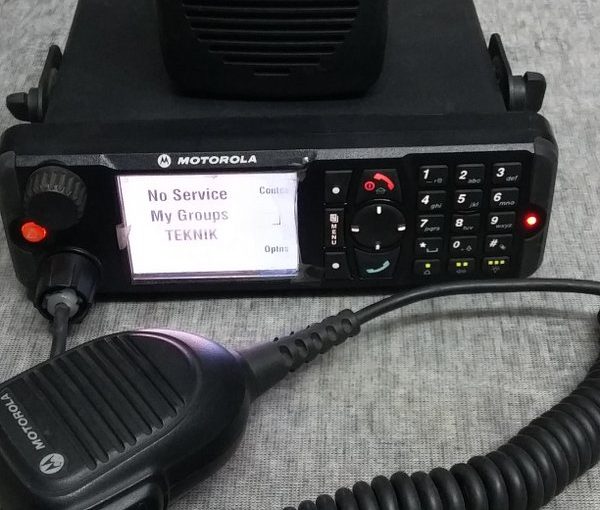
Examples of the products we have recently been requested to provide spares solutions and repairs services include Motorola Desk Radio Terminals: 

Terminal Products
Part NumberProduct CodeDescription
M47PCC6T25_NMT912MTM700 380-430 MHz DESK Terminal
M80PCC6TZ5_NMT912MMTM800 380-430 MHz DESK Terminal
FIRMWARECLEAR / TEA1 / TEA2Choice for all radios
OPTIONEXP DASHExpand Control Head, 5m cable

If you have similar or other Radio solutions requirements and legacy maintenance services needs, please get in touch to discuss how we may be of assistance.

Hardware Repairs

Organisations that deploy, own and maintain infrastructure systems and networks make considerable investments in time and money, and it makes complete business sense to maximise the return on these investments. Even if it were desirable to make wholesale replacements, such projects take time to undertake. Ideally, if the equipment is performing satisfactorily and operational requirements have not changed, then is better to keep the existing equipment maintained for as long as possible.

Critical infrastructure systems are typically built to last, with high availability and reliable system components, and interchangeable spare parts. But sooner or later, repairs to elements are needed. During initial deployment and warranty periods, this is not normally an issue, but over time, these services become more specialised and difficult to obtain, as vendors advance their portfolios and discontinue older products.

@YellowsBestLtd specialises in ‘Keeping Customers Operational‘ by sourcing equipment spare parts and hardware repairs to modern and legacy systems. Should you have any requirements, please get in touch; we would be very pleased to hear from you, and look forward to being of assistance.

Take a look at some of the elements for which we provide hardware repairs services: Recent repairs requests

Motherboard Repairs

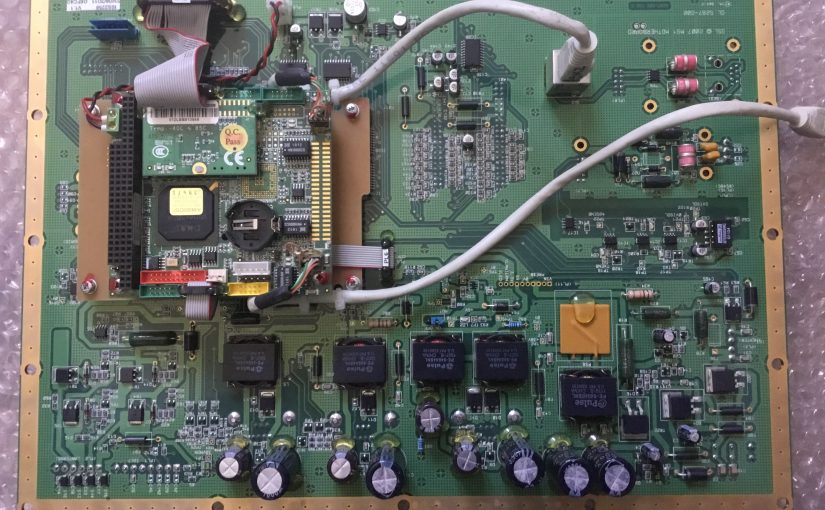
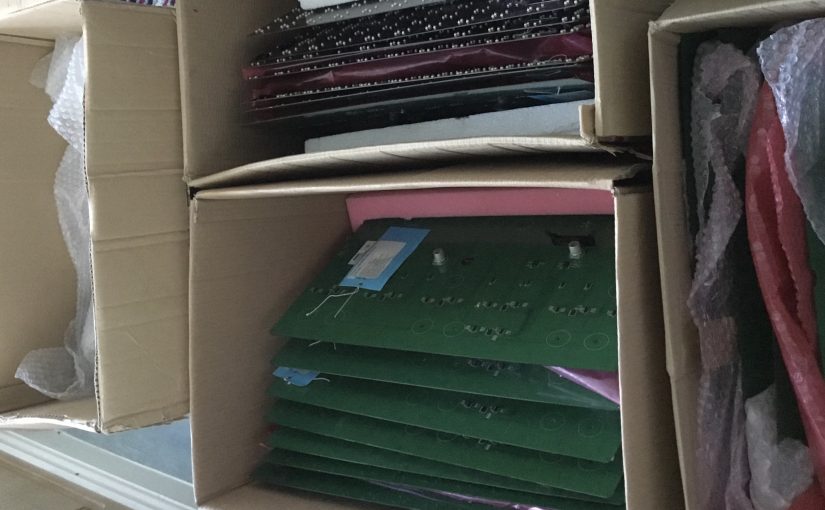
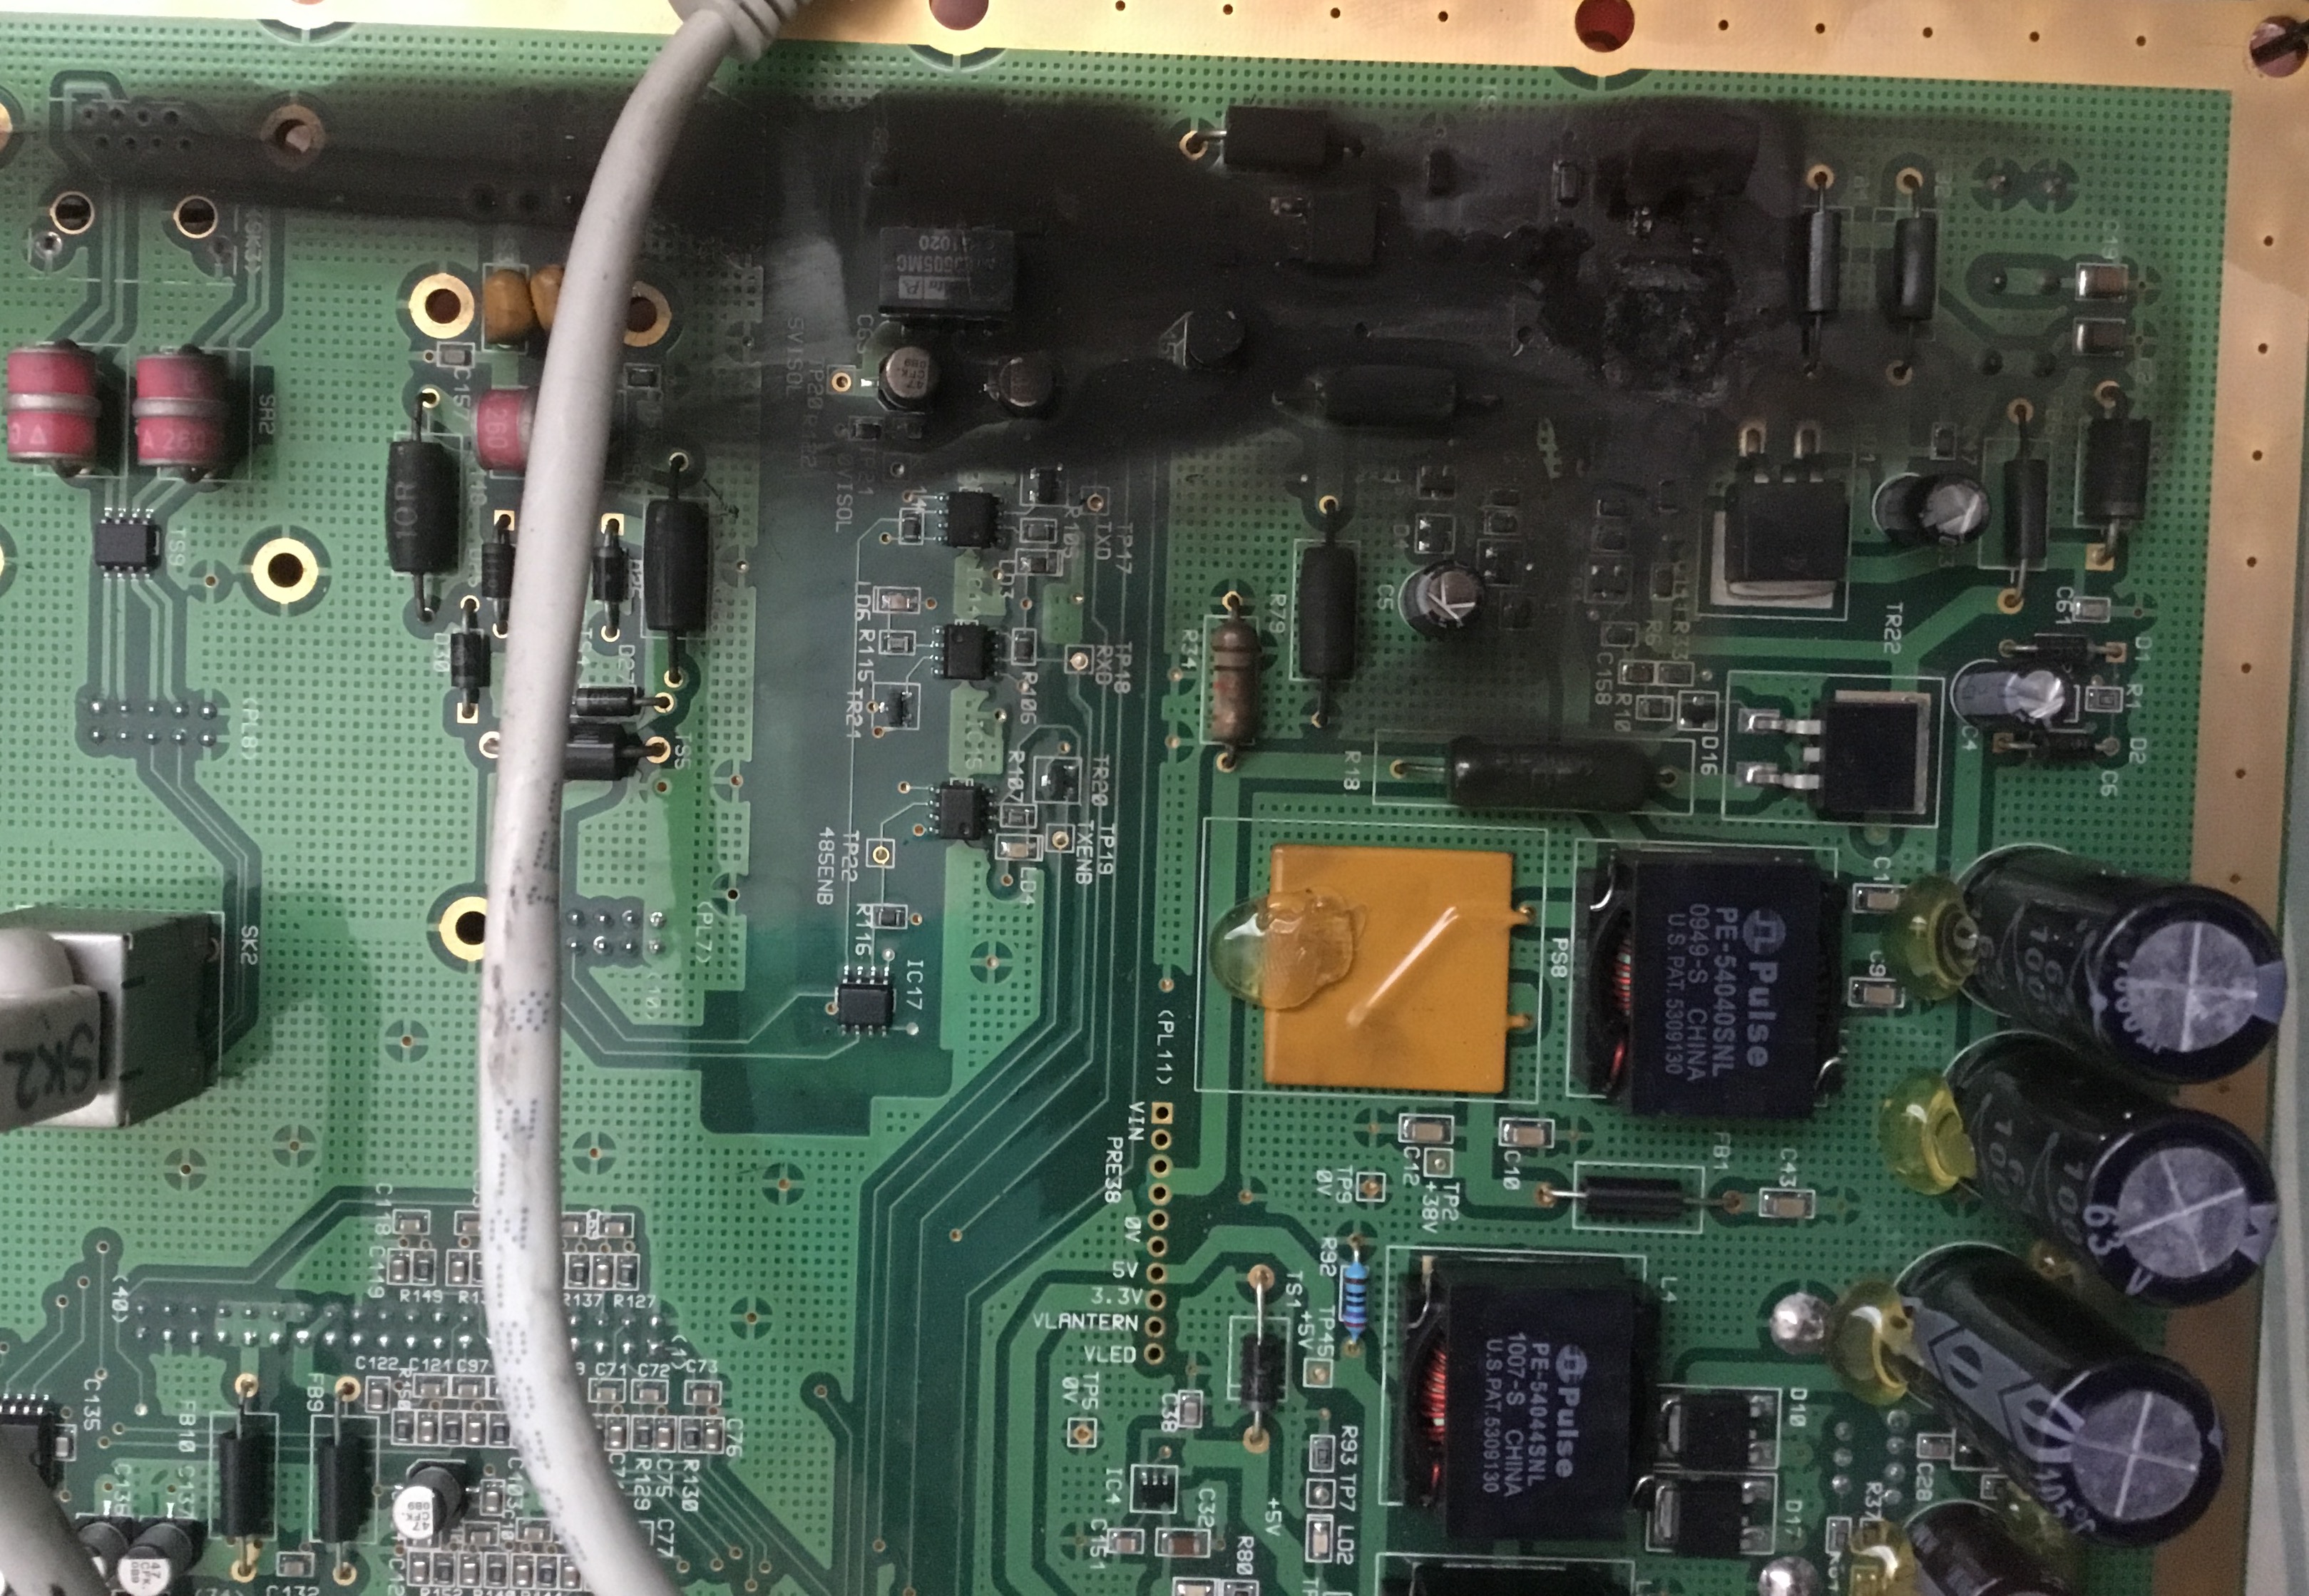
Repairs to elements such as modules and cards of infrastructure hardware is one way we achieve our mission of “Keeping Customers Operational”. A good and recent example is Motherboards for display systems. These are from established, long-standing and therefore proven and fit-for-purpose systems. It therefore makes sense to maintain and extend the life of these parts.

Typical with such ‘legacy’ elements is that the level of complexity of the items is not excessive, meaning that repairs using discreet components is perfectly feasible, unlike more modern integrated systems which use specialised parts that cannot be freely or cheaply obtained or impossible to disassemble resulting in them being classed as ‘BER’ (Beyond Economic Repair). This is ultimately costly and disruptive, requiring wholesale replacements.

@Yellowsbestltd would be keen to hear from you should you have any repairs requirements. We would welcome receiving any defective items you have in order to perform a no-cost assessment to establish the feasibility and likely cost of restoration. Please get in touch to let us know how we can help.

Broken? Don’t give up hope!

Cable end connector stuck in iPhone / iPad

Here is a recent problem which would appear to be quite common. The end of the connector on a lightning cable was stuck inside the charging / accessory port. This worryingly appears to be a frequent occurrence resulting from the use of cheap, unbranded cables where the tip of the connector can break off, forming a staple-shaped piece, jamming itself into the iPhone or iPad. The result is that it is impossible to charge the device, unless the broken connector lead is retained, as it is the only one now small enough to fit into the accessory port.

This problem can render the expensive phone or tablet useless. For older out-of-warranty products it is potentially not worth a repair investigation and even with newer devices this may be classified as ‘accidental damage’, requiring extended insurance cover to avoid a significant resolution cost.

Happily, it may be possible to address the problem using the following simple technique:

  1. Use a ultra-small, precision screwdriver. It needs to be small enough to easily fit inside the accessory port and be able to be levered across it’s width, whilst being sturdy enough not to bend or break.
  2. Insert into the device’s accessory port, and position sideways across the width of the opening, such that the end of the tool is pressing on the inside of the port about half-way in / up.
  3. Then, with an outwards ‘levering’ action, pull the broken connector piece out of the port.

If fortunate, this will remove the obstruction and return the device to an operational state. Naturally, success is not certain and there is the risk of causing further damage. Hence, particularly with newer devices, if you are not confident in your abilities then best to consult an electronics specialist or seek professional assistance from an approved repair centre.

The lesson from this experience is to purchase good quality, branded accessory leads and dispose of any cables where the connector shows signs of wear.

Maintenance of new and legacy systems

@Yellowsbestltd our mission is “Keeping Customers Operational”, by assisting with with the repair of parts for infrastructure systems. These are typically established, long-standing and therefore proven and fit-for-purpose. It makes sense to maintain and extend the life of these systems, as wholesale replacements will be costly and disruptive. This is particularly applicable when the service requirements have not changed, so functionality upgrades are not necessary.

We would be keen to hear from you should you have any repairs requirements. Please get in touch to let us know how we can help. By example, there follows a list of a few recent requests we have been able to assist with. We look forward to hearing from you with any feedback you may have.

Recent repairs requests

Management Adapters
BERMotherboard
Motherboards
LED Displayboards
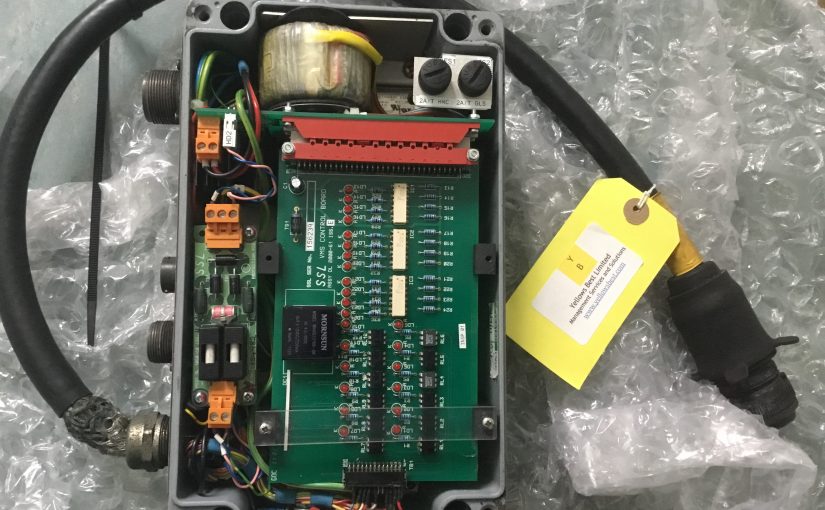
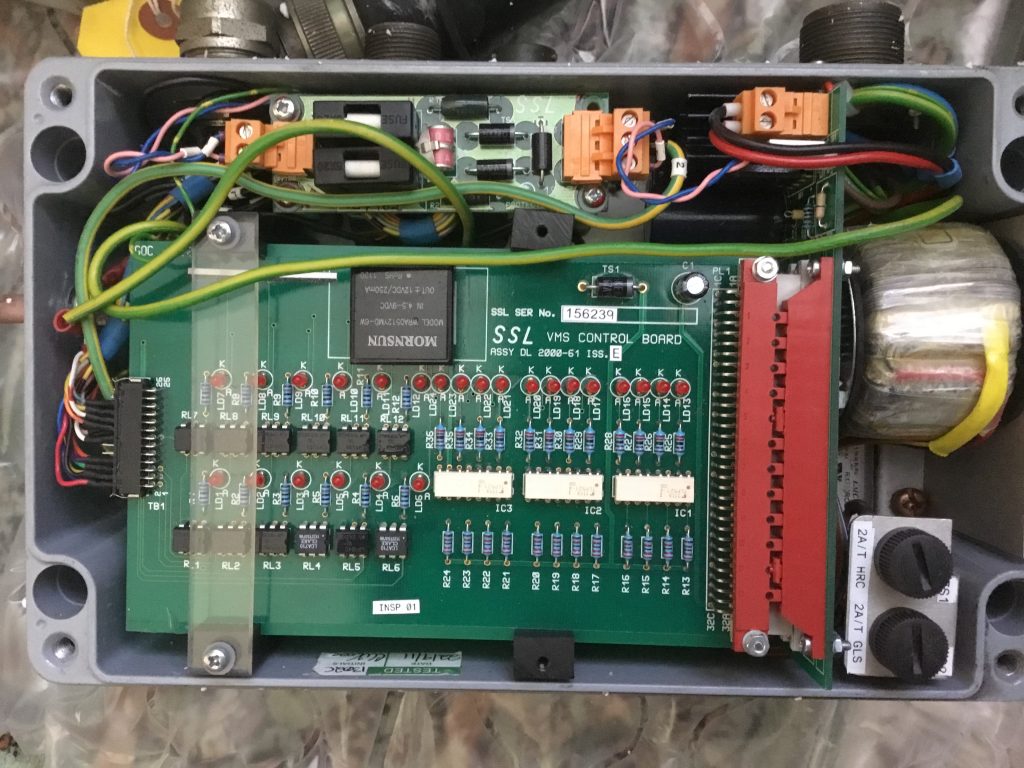
PSU & Control Units
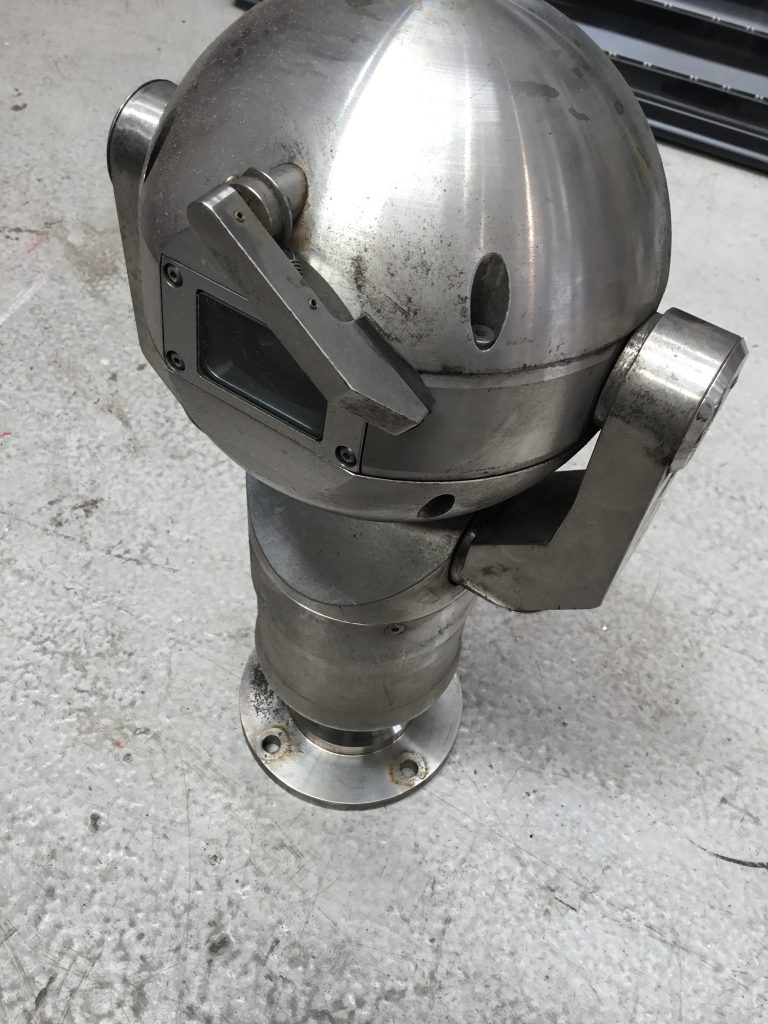
Professional CCTV cameras
Consumer Electronics 
Legacy workstations
Personal Computers
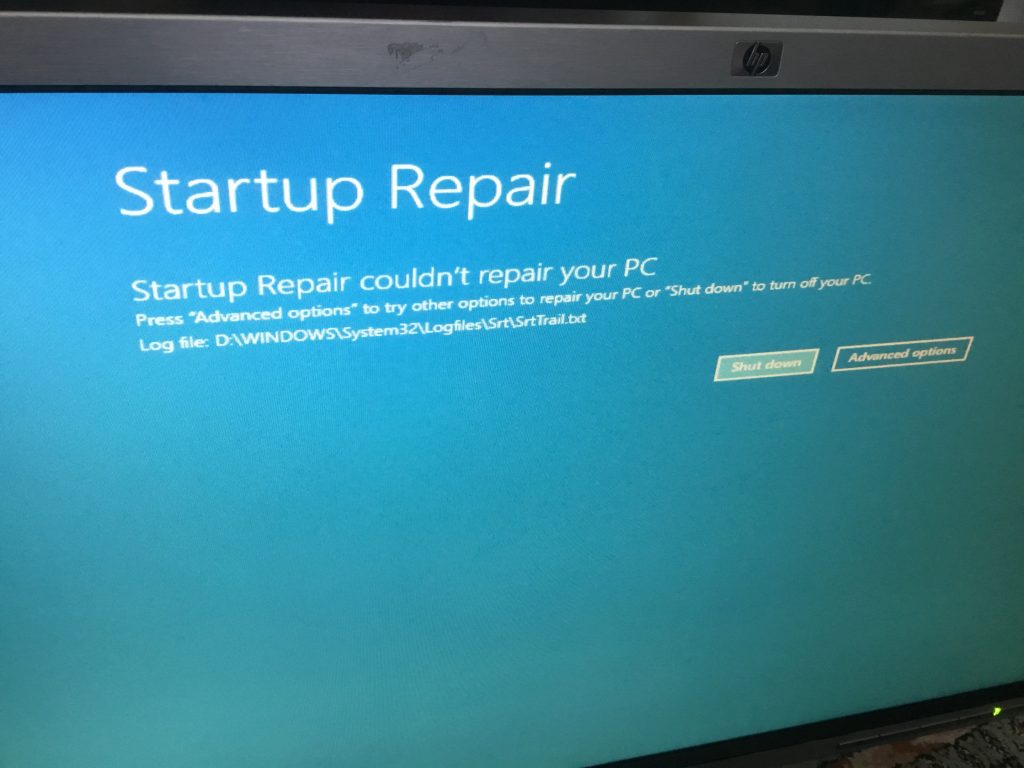
Computer Software

Repairs

Maintenance of new and legacy systems

In order to accomplish our mission of “Keeping Customers Operational”, we often assist with the repair of parts for infrastructure systems, which are typically established, long-standing and therefore proven and fit-for-purpose. It makes sense to maintain and extend the life of these systems, as wholesale replacements will be costly and disruptive. This is particularly applicable when the service requirements have not changed, so functionality upgrades are not necessary.

Often, new product spares are expensive, difficult to source with long lead times, or no longer manufactured due to the product range having been discontinued and/or the original vendor having ceased business. In such circumstances, it becomes even more important to restore existing parts to working condition, tested and warrantied.

Available hardware services vary depending on the wide range of deployed technologies, and sometimes repairs are not possible due to component shortages or poor condition of the parts (e.g. suffering from water damage). But often both ‘legacy’ and newer items can be refurbished. Rebuild and recovery of software configurations can also be required and performed.

@Yellowsbestltd would be keen to hear from you should you have any repairs requirements. We would welcome receiving any defective items you have in order to perform a no-cost assessment to establish the feasibility and likely cost of restoration. Please get in touch to let us know how we can help.

By example, there follows a list of a few recent requests we have been able to assist with. We look forward to hearing from you with any feedback you may have.

Recent repairs requests

BERMotherboard
Motherboards
LED Displayboards
PSU & Control Units
Professional CCTV cameras
Consumer Electronics
Legacy workstations
Personal Computers
Computer Software

Repair Services – is it B.E.R.?

Equipment repair decisions – the Customer’s right!

Customers with critical infrastructure networks have elements that fail from time-to-time. These can usually be swapped out with items from a spare parts stock, to return the system to operational service with the minimum of disruption to overall system availability. 

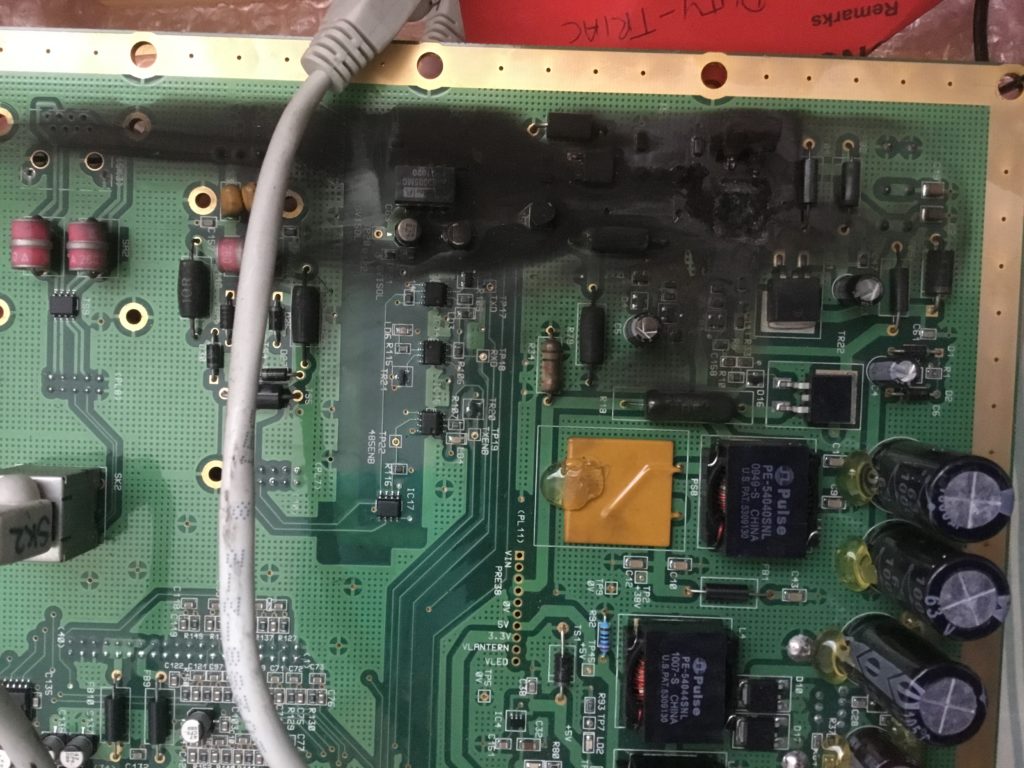
The question then arises of whether the failed item can be repaired. In most circumstances, it is possible to restore parts to working condition, but sometimes they are classified as ‘Beyond Economic Repair’ (B.E.R.). This can be a somewhat contentious issue.

In theory, the term should be only applied to items where the repair cost would exceed the price of the purchase of a new or refurbished replacement. However, on the one hand the term can be used to label something that physically cannot be restored e.g. due to fire or water damage. On the other, it’s often applied to items where no repair facilities exist or it’s not possible to easily source the required components to complete the remedial work. So in other words, the term is used instead of the negative-sounding ‘repair not possible’.

The reason why this can become a source of frustration is because some customers rightly insist that they should be the “one who decides” if the item is ‘B.E.R.’. Maybe for reliability statistical reasons or version compatibility, it is sometimes desired to retain the original part even if repair costs are high. Sometimes, legacy replacement spare parts are in very short supply, and so it makes sense to retain and refurbish items rather than scraping and losing them forever. Even if the short-term associated costs are greater, for products that are no longer being manufactured, the available ‘spares pool’ is finite and diminishing over time and so the decision to repair may avoid longer-term supply issues in the future.

Reduce – Reuse – Recycle

Most customers have implemented their private network infrastructure systems over a number of years, and for many their operational requirements have not changed. Consequently, it makes more sense both financially and environmentally to maintain these systems rather than embark on complete change-outs.

@YellowsBestLtd helps Customers with their operational needs, and one aspect is to #Reduce the demand for avoidable whole-scale replacements through a combination of #Reuse of refurbished spares and repair of system elements. When removal and disposal of no-longer serviceable infrastructure parts is necessary, we can also assist with the resale and #Recycle for ‘value recovery’ of valuable materials.

We can assist by supplying critical and hard-to-find spare parts and hardware repair services, even when the systems have been declared ‘obsolete’ (i.e. no longer in production) by the O.E.M. And we will endeavour to ensure that repair options are always available and the question of B.E.R. is up to the Customer to decide. Please let us know how we can help; we look forward to hearing from you.


Repair Services

Maintenance Services for Systems Equipment

From time-to-time, hardware elements within infrastructure systems fail, and repair services are required for a diverse range of parts procured over a considerable period of time, from a multitude of Original Equipment Manufacturers (O.E.M.s), some of which no longer exist.  

YellowsBest is able to provide a comprehensive repairs management service for both new and old equipment items, all to a standard equivalent to the original working condition and with warranted operation.

Component Level Repairs Example: SES Displayboards 

An example of the type of equipment that we are often asked to assist with is the MS1 Matrix LED ‘displayboards’ produced by SES and used for professional signage applications.

LED ‘displayboards’

Typical issues to deal with are Faulty LEDs, damaged capacitors and broken sockets, which have occurred in operational use over time. Adding to this are problems stemming from heat gun damage and resoldering caused by previous ‘user fixes’.  But these issues are addressable and the boards restored to full working condition. 

Other types of equipment for repair services include Telecommunications products, power supplies and CCTV cameras.

Repairs
Typical Items for Repair Services

Reduce – Reuse – Recycle

@YellowsBestLtd helps Customers with their operational needs, and one aspect is to #Reduce the demand for avoidable whole-scale replacements through a combination of #Reuse of refurbished spares and repair of system elements. When removal and disposal of no-longer serviceable infrastructure parts is necessary, we can also assist with the resale and #Recycle for ‘value recovery’ of valuable materials.

Most customers have implemented their private network infrastructure systems over a number of years, and for many their operational requirements have not changed. Consequently, it makes more sense both financially and environmentally to maintain these systems rather than embark on complete change-outs. We can assist by supplying critical and hard-to-find spare parts and hardware repair services, even when the systems have been declared ‘obsolete’ (i.e. no longer in production) by the O.E.M. We look forward to hearing from you.

Reduce Reuse Recycle

@YellowsBestLtd helps Customers with their operational needs, and one aspect is to #Reduce the demand for avoidable whole-scale replacements through a combination of supply for #Reuse of refurbished spares and repair of system elements. When removal and disposal of no-longer serviceable infrastructure parts is necessary, we can also assist with the resale and #Recycle for ‘value recovery’ of valuable materials.

Most customers have implemented their private network infrastructure systems over a number of years, and for many their operational requirements have not changed. Consequently, it makes more sense both financially and environmentally to maintain these systems rather than embark on complete change-outs. We can assist by supplying critical and hard-to-find spare parts and hardware repair services, even when the systems have been declared ‘obsolete’ (i.e. no longer in production) by the O.E.M.

Eventually there does come a time when it proves necessary to remove and replace network infrastructure. Rather that simply discarding the old system elements, we can provide ‘value recovery’ to the Customer by means of resale of working parts and recycling of components, extracting useful materials. This often proves financially beneficial, generating a source of funds which helps to pay for the replacement systems, as well as providing an ethical means of disposing of unwanted parts with the least environmental impact.

Please get in touch should you wish to discuss your operational requirements and see how @YellowsBestLtd can be of assistance.


Recommended reading on the wider aspects of ‘The Future of Waste’ can be found in:

@TheIET @EandTmagazine Volume-12_Issue-11

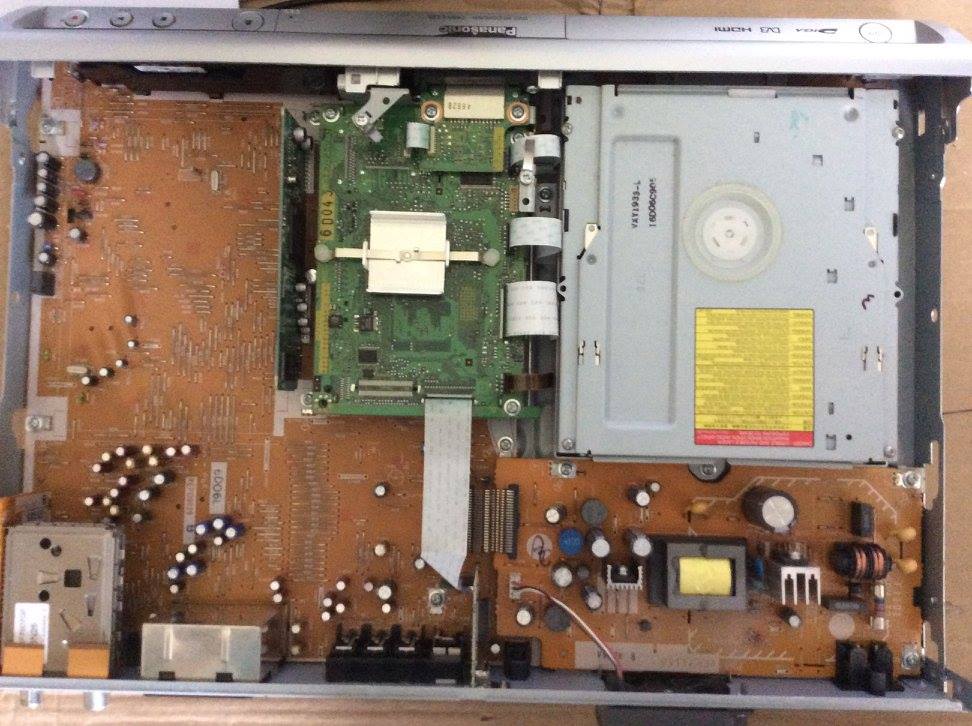
Repair of Panasonic DMR-EZ25 DVD Recorder

Panasonic DMR-EZ25 DVD Recorder

The DMR-EZ25 is a reliable and highly-specificationed DVD Recorder, and like several models made by Panasonic somewhat special by it’s capability of being able to use DVD-RAM disks (as well as the more common DVD-R and DVD-RW) for maximum flexibility of recording and playback.

This model does however sometimes fail, displaying various fault codes, preventing use but at least giving an indication of the likely problem(s). Fortunately, it is then relatively straight-forward to disassemble using just a screwdriver, and thereby replace (or repair) the relevant component modules.

Here are the full disassembly and reassembly procedures I followed to restore my unit, which had been displaying the fault code ‘U81’, to full working order by replacing the main PCB board.

Disassembly procedure

1. Remove top panel, removing 3 screws (normal, non-washer type) at rear and two on side (big).

2. Remove front panel, which pulls off once lugs are pushed back, being careful not to break lugs.

3. Remove HDMI board, removing one screw (normal type) and then easing it out of the black connector on the main board and the ribbon cable out of its socket on the digital board.

4. Remove the SD card board, removing two washer-type screws and the ribbon cable out of its socket on the digital board.

5. Remove the rear panel, removing 6 normal screws and 2 smaller machine screws by the SCART sockets, then unplugging the FAN connector cable from the PSU board (alternatively, you can leave this connector in place and lift the panel away with the PCB board).

6. Remove the PSU board, removing the three washer-type screws and easing the black power rail connector from its socket on the main board.

7. There’s no hard disk in the EZ25 model, other products have an extra step.

8. Release the digital board from its mounting frame, there are three washer-type screws (and an empty socket where a fourth one is not present), easing it out of its black connector socket on the main board hidden underneath and then fold it over onto the disk unit keeping the ribbon cables attached

9. Remove the DV input board, removing one normal-type screw.

10. Remove the digital board metal support frame, removing four washer-type screws.

11. Remove the power button pcb, removing the washer-type screw and sliding it from the lugs being careful not to pull the ribbon cable.

12. Remove the main board, removing the four washer-type screws and the ‘hidden’ normal type screw on the front by the AV sockets.

13. The remaining disk drive unit removes from the base panel, removing two washer-type screws and lifting out with the digital board (which can be disconnected if necessary by careful detaching of the ribbon cables).

Re-assembly procedure

1. Insert main board into chassis (and also the disk drive if removed, with digital board, with two washer-type screws). There is a lug to align into a hole at the front left edge, one at the front right side and a bent lug at the rear to slide under. A ‘hidden’ (non-washer type) screw is located at the front by the phono sockets, and four more screws secure the main PCB to the chassis, all are ‘washer-type’.

2. One screw secures the power button PCB, aligned with two lugs.

3. Five screws secure the metal frame for the digital support board.

4. One (non-washer) type screw holds the DV input board which needs aligning with the holes in the main board at the front next to the phono sockets.

5. The digital board flips over with its ribbon cables in place, mounts onto the frame, tucking under the lugs, slotting the DV input board into place and pressing down onto the main (black) connector underneath.

6. Three screws secure the digital board in place (a potential fourth, in the far right corner (away from the front panel) is not present.

7. No hard disk is present in the DMR-EZ25 model (different models have this extra step).

8. The power PCB is placed into position, and it’s power rail connector presses together. Three screws secure it in place.

9. The rear panel clips securely in place. Six screws secure it, all ‘non-washer’ style and two ‘machine-type’ screws locate between the SCART sockets . The connector for the fan presses in place.

10. The SD board mounts at the front onto the digital board, with a lug and two ‘washer-style’ screws. It’s ribbon cable presses in place.

11. The HDMI board slots into place onto its black connector and its ribbon cable slots into place on the digital board. A screw on the rear panel secures it in place.

12. The front panel clips in place.

13. The top panel pushes on, slides in place and is secured by three non-washer type screws on the rear and two large flat screws on the sides.

Photos (including views of the component modules from inside the product) of this repair project are on our Facebook page.

PC Restoration

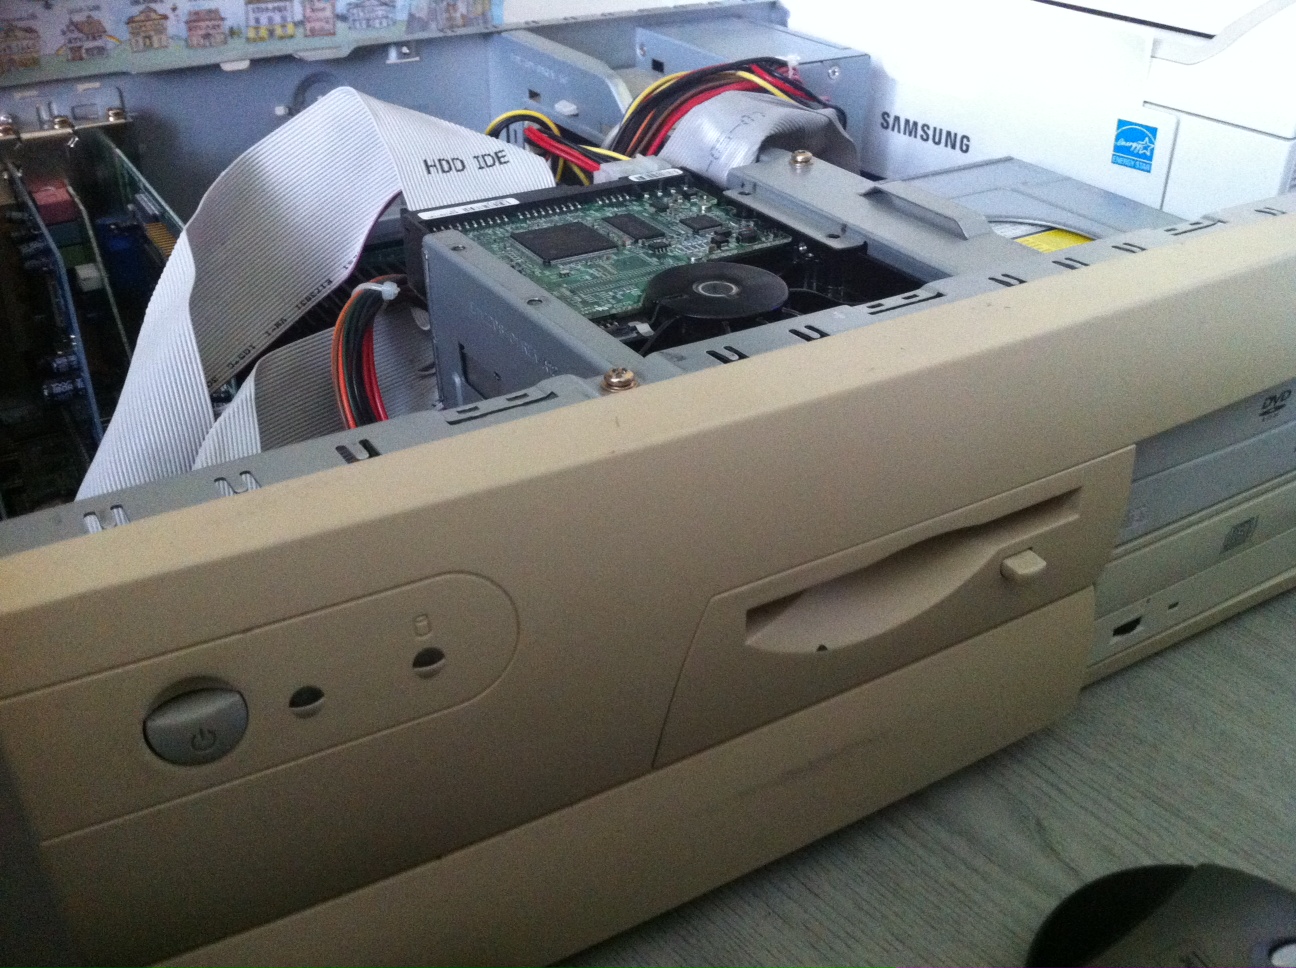
Managed to get this old Pentium III PC back to working order. It had been working fine, and I had been successfully getting it to boot into both Windows XP and Windows 95 by swapping hard drives, but then it completely stopped working.

Initially it didn’t look promising. Computer seemed to be powering up, but no video was being displayed on the monitor. Worse, it wasn’t even accessing the floppy drive on power up, let alone either of the hard drives. So I went through these steps:

Step 1 – Tried clearing the CMOS – BIOS memory. Found out there’s 2 ways of doing that; by reseating the cell-sized CMOS battery, or by moving the CLEAR CMOS ‘jumper’ on the motherboard from the pins it was on to the other pins. I tried both, but that didn’t do anything (later on I had to restore the BIOS settings, so it was a shame to have to try that).

Step 2 –  Tried testing the power supply. Even though power was clearing getting to the PC, since the ATX PSU generates several different voltages, it could be just that one part had failed. So with an AVO multimeter, I went through and checked all the outputs: +3.3V, +5V, +12V, -12V on the 20pin connector, with pins 15 & 16 shorted together (to ensure power on even whilst not connected to the motherboard). All checked out ok.

Step 3 – Tried ‘reseating’ everything possible in the PC. i.e. disconnected all data and power cables, took out all the interface cards, the memory module and the keyboard and mouse connectors. This step generated some progress, as now a loud ‘beep’ was heard on power-up. There are a series of different ‘beep codes’ which can indicate issues. After a bit of experimentation, I found that reseating the memory module again got rid of the ‘beep’ and even better caused a default startup screen to appear.

Step 4 – Even though it was ‘progress’ to get some video out, the PC still wasn’t booting into the Operating System, so I now suspected that I needed to restore the BIOS settings that had been reset with the CMOS clearing step. Pressing F2 on power up took me to the BIOS configuration page. That included seeing the date and time, changing the default setting for diagnostics on boot, and crucially manually setting the cylinder/head/sector parameters of the IDE HDD (as ‘auto-detection’ wasn’t working). This last part needed the right information about my hard disk to get to work, but fortunately I managed to find the exact information by booting with a Maxtor disk utility floppy disk (normally used for formatting, but it told me the parameters I needed).

With all that done, the booted successfully again into both Windows XP and Windows 95, job done!

Photos of the restoration in progress are on our Facebook page.